An easy trick to enhance the visual appeal of a video and align viewers with brand values and vision is to add lower thirds. These tiny but powerful visual cues can be difficult to achieve, but they are well worth it.
The best way to incorporate a third of a video's lower third is to use a template. You can easily find free templates online. A custom font and color palette may be used to create a lower-third depending on your brand's vision.

A lower third can make a video more interesting, regardless of whether it is for a live event or a webinar. Lower thirds can also be used to highlight certain sections of a video. For example, if you are doing a live sports stream, you might want to include lower thirds displaying score updates during the halftime break. Lower thirds can include text, graphics, or animations. They are simple and subtle, so viewers don't need to be distracted from the main content.
The best way to make a lower third is to have a clear vision of your brand's style and vision. A style guide might be useful if you work with a large network. You might also be given creative license to create your own lower thirds, but you'll want to keep your brand's values front of mind at all times.
The graphics and text aren't what is most important in a lower third. You should not waste time creating a lower third that does not live up to its promises. People make the biggest mistake by adding a lower-third that isn’t consistent with their brand’s color palette and style. If you are creating your own lower thirds, make sure it works with all video editing software.
A third lower can have as few lines as text, or as many lines as animated videos. It could even contain graphics, animations and text together. A lower third must be visible on all screens. Also, ensure your lower thirds are visible on all video devices so your audience doesn't miss them.
Knowing which elements you wish to include in your design is the most important aspect of a great third. To make sure you have all visual cues in your design, such as the logo for a company or brand, you can use templates. It can help you ensure that your video is the best possible.
FAQ
How do I become an excellent photographer?
Photography requires patience, dedication, passion, and practice. If you are passionate about photography, you will find yourself doing much better than if you were just going for the money.
It is important to know how to properly use your camera. You will need to know how to use your camera properly. Additionally, you should have a good grasp of Photoshop.
Photography can be difficult but once you get the hang of it, it's a rewarding art form that allows you to capture moments in time that otherwise would have gone unremembered forever.
Learn more about the subject and then take classes or participate in competitions to enhance your skills. This way, you will gain experience and confidence, leading to improvement. What equipment is required?
It really depends on your type of photography. For example, if you are interested in landscape photography, you will need a wide-angle lens.
If you're interested in portrait photography, you should get a telephoto zoom lens.
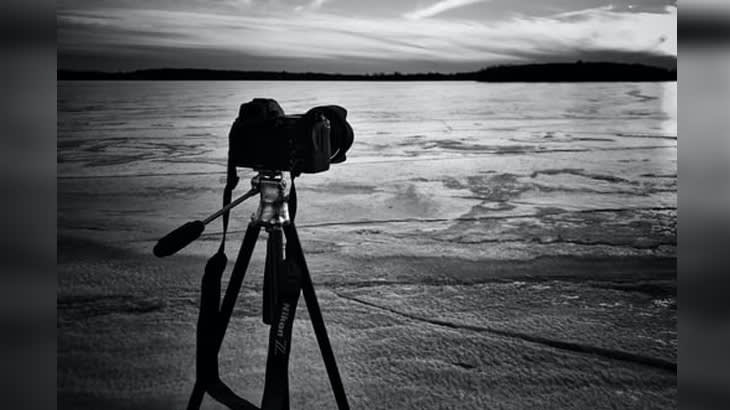
A tripod is essential when taking photographs. It allows you to stand back and compose your picture without moving around.
Camera bags can be useful for carrying your camera and memory cards as well as other accessories.
A flash unit is necessary if you are using a compact camera.
A DSLR (Digital Single Lens Reflex), camera is the best choice for novice photographers who wish to create professional-quality images.
DSLRs are very popular as they let you control all aspects of your photos, such as shutter speed, aperture and ISO sensitivity. A variety of features are available such as autofocus and auto-exposure locks, bracketing, self-timer, and RAW formatting.
How can I learn photography by myself?
There are many options for learning how to take great photographs. There are many options: you can buy a book, take a class or join an online community. You can also watch YouTube tutorials. But if you want to master the art of taking pictures, there's nothing better than doing it yourself! You have full control over the final product. You will continue to learn and improve, so long as you are willing to keep learning.
One of the greatest things about digital photography, however, is the fact that you don’t need expensive equipment. You only need a computer and an internet connection to take pictures. The rest is up to you.
Here are some tips to get you started.
-
Familiarize yourself with the manual settings for your camera.
-
Learn the basics of controlling your computer.
-
Take lots of photographs.
-
Edit them.
-
These are yours to share.
-
Keep practicing.
-
Experiment.
-
You can try different perspectives and angles.
-
Use light sources creatively.
-
Practice makes perfect.
-
Do not be afraid to fail.
-
Be patient.
-
Have fun
What Camera Should I Get
All depends on the type of photographer that you want to be. If you're just getting started, a basic point and click camera will suffice.
However, once you've mastered the basics, you'll likely want something more advanced. Personal preference is the only way to decide.
These are some important things to think about before you purchase a new camera.
-
Features: Which features are most important? Will you use manual settings or autofocus? How many megapixels do you have on your camera? Is there a viewfinder?
-
Price: How much will you spend? Are you looking to replace your camera every few years?
-
Brand: Is it possible to be happy with your brand choice? You shouldn't settle for less.
-
Functionality: Can you use your camera in low light situations? Can you take high-resolution photos?
-
Image Quality: How clear are your images and how sharp are they?
-
Battery Life: How long can your camera last before it needs to be charged?
-
Accessories: Do you have the ability to attach flashes, additional lenses, and so forth? ?
Statistics
- That's the easiest way to get blurry photos 100% of the time. (photographylife.com)
- By March 2014, about 3 million were purchased monthly, about 30 percent of the peak sales total. (en.wikipedia.org)
- While I cannot prove that all of those spots were not sensor dust, the photo was taken during a heavy snowstorm…so I guess that 99.8% of the spots are snowflakes. (bhphotovideo.com)
- The second easiest way to get blurry photos 100% of the time is to use a cheap filter on the front of your lens. (photographylife.com)
External Links
How To
How to photograph in low light conditions
Low-light photography means taking photos in dimly lit areas. It requires special equipment. The main challenges are controlling exposure, white-balance, and sharpness. There are two types low-light photography: ambient and flash. Flash photography works best when there is enough lighting around. But if there isn't enough natural light, then you'll have to use a flash. A flash might be necessary if you are photographing a subject indoors and outside. Try shooting at night, during the moonlit hours, if you don't need a flash. You will get beautiful shadows and colors. Another option is to capture at twilight. Twilight is when the sun sets but there's still daylight.
You may also want to experiment with long exposures. Long exposures let you capture images even after the shutter has been open several minutes. The camera records only light that falls on it if the shutter is not closed. This light will continue to fall onto your sensor after a long exposure. The shutter was not opened, so no new light entered the lens. This means that you will not see any movement. To ensure a clear image, you should turn off all automatic settings such autofocus or exposure. Make sure to adjust the ISO setting before starting to shoot. An ISO setting of 200 allows you to adjust how bright or dark the image looks. Next, click quickly on the shutter button to capture the shot. This will bring the shutter completely to a close. Next, hold the shutter button down until the end. To prevent additional light entering the camera, hold the shutter button down. Once you take the shot, wait a while before you release the shutter. This allows the camera to process the image. While your image processing is taking place, you will be able to view your photos on your screen. Once you are satisfied, save them on your computer.