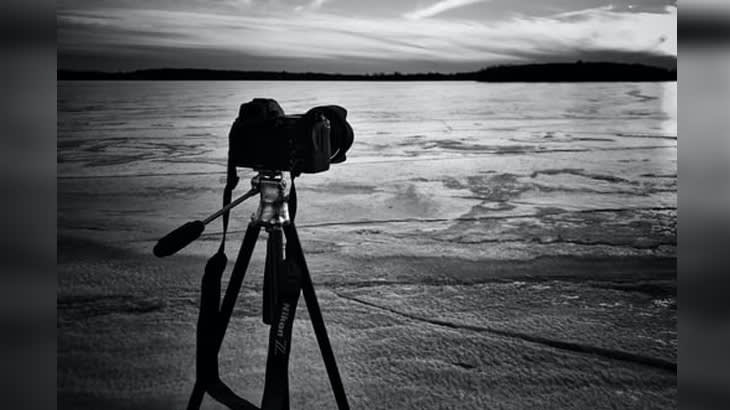
Landscape photography is not governed by any set rules. But, it is important to follow the rules and use the elements for good composition. These elements include contrast and negative space. It is important to have a foreground and middle ground as well as a background in your image. A long exposure is a good option if you're capturing water. A tripod, an ND Filter, and a shutter speed at least 2 secs are all necessary for this technique.
Drone photography for landscape photographs
It is important to know the basics of taking photos with a drone of landscapes. First, you should have extra batteries handy for your drone. You should also aim to shoot during the golden hour. This is when the sun is at its softest and gives your landscapes a lovely glow. You should also be familiar with the fundamental principles of photography to optimize your drone shots for great landscapes.
You can capture stunning drone landscape photos from the skies. To get the best shots, you must be aware of how your drone is positioned. Although it might seem appealing to fly your drone as high as you can, the drone should be kept close to the ground. This allows for the camera and the landscape to be seen. These photos have a deeper and more detailed look. Drones can also be used to take low-level photos of nature.
Using a polarizing filter to create depth
A polarizing ring can give you a sense depth when taking landscape photographs. A polarizing filter reduces reflections from water and windows, making the subject appear closer to you. This filter can also make the sky darker and create an illusion of depth. It is useful when trying to capture the beauty of a waterfall, or tide pool.
Another benefit of using a polarizing lens is its ability to eliminate glare from objects, like rocks or wet foliage. You can achieve a brighter image without blurring or adding too much detail. Polarizing filters can be used to enhance the greens or improve the clarity. Here are some examples on how to use a landscape polarizing filter.
Manual camera for taking photos
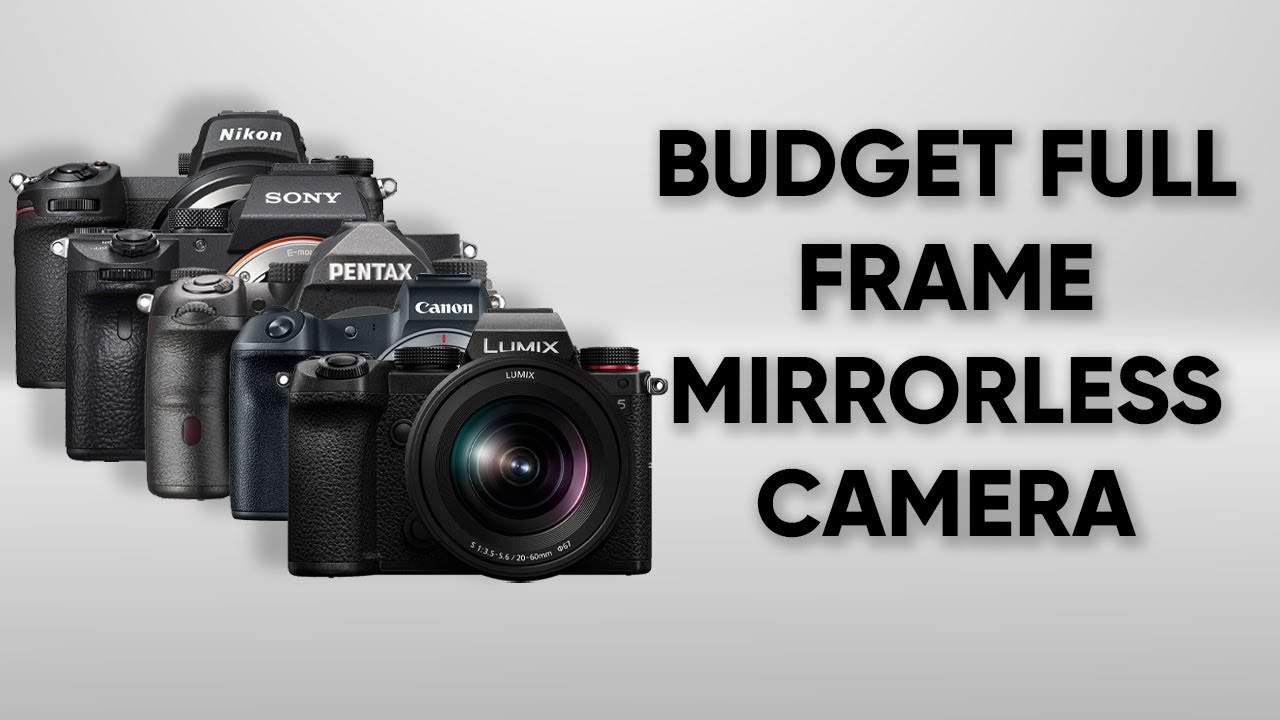
A manual camera can be used to take landscape photographs. There are many benefits. The first is that it is less complicated to use. The image quality at low ISO settings is crucial for landscape photography. This includes sharpness and tonality as well as dynamic range. A full-frame digital camera is not always necessary. Larger image sensors produce sharper photos. You can also purchase lenses that are not fully-framed.
Taking photos with a manual camera for this purpose may involve changing certain camera settings. Understanding why certain settings are important is the first step. Knowing why each setting is important will help you improve your landscape photography and make the camera work more efficiently in the field. An investment in landscape photography is a manual camera. Don't hesitate to buy one. So, let's take a look at some of the benefits.
Being paid to be a landscape photographer
If you're interested in becoming a landscape photographer, there are a few things that you should know. You must invest in the right equipment. You can rent a lens for one project if you aren't sure what lens you should buy. This is applicable to all types of photography, even landscape photography. Then, you can focus on improving and expanding your photography abilities. These are some ways to get paid to be a landscape photographer.
Make sure to pitch yourself for editors. Landscape photographers are essential for advertising. Many magazines and tourism centres are always seeking new photographers. This will allow you to develop relationships with editors and help you to offer your services. Once you have a portfolio, larger publications will be able to offer regular work. In-house positions may be available. In-house publications are not often open to freelance photographers who shoot landscapes. Instead, they start their own freelance businesses. They can create their own schedules and generate additional income streams.
FAQ
What is rule of thirds for photography?
The rule-of-thirds is a simple way to create interesting compositions using no complicated camera settings. It divides your image in nine equal parts, vertically and horizontally. This creates three main areas in which you want your subject. These are the top (upper left corner), middle (center) and bottom (lower right). These areas can serve as guides to help you position your subject within your frame.
The rule of threes can also help you avoid placing important items too close together. If they are too close to each other, it may be difficult for them to make a strong visual impression. If you put them too far apart, they might lose focus because there isn't much room around them.
How can I learn photography on my own?
There are many ways you can learn to take great pictures. You could buy a book, attend a class, join an online community, watch YouTube tutorials, etc. You can't go wrong with doing it yourself if you are serious about mastering the art of photographing. This way you can control what goes into each photograph. You will continue to learn and improve, so long as you are willing to keep learning.
The best thing about digital photography? You don't need any expensive equipment. All you need is a computer with internet access and a camera. All else is up to you.
Here are some tips for getting started:
-
Familiarize yourself with the manual settings for your camera.
-
Learn how the basic controls work.
-
Take many photos.
-
Make sure to edit them.
-
Share them.
-
Keep practicing.
-
Experiment.
-
Try different angles and perspectives.
-
Use light sources creatively.
-
Practice makes perfect.
-
Never be afraid to fail.
-
Be patient.
-
Have fun!
What camera is best for beginners and what are the pros and cons?
The best camera for beginners will depend on your budget, needs and level of skill.
A point-and-shoot camera is a good option if you want to save money. These cameras are not very versatile but offer excellent quality.
Digital Single Lens Reflex (DSLR) cameras have interchangeable lenses that allow you to shoot various types of shots. These lenses are usually more expensive than point-and shoots, but offer greater flexibility.
For those new to photography, a beginner's kit is a great place to start. All you need is included in this package: a camera body and lens, flash, memory card, tripod and flash.
You should also remember to buy additional batteries.
Do I Need A Tripod?
This is a question everyone asks. The truth is that a tripod isn't always necessary, but it can come in handy.
It helps you keep your camera steady while taking pictures at slow shutter speeds. A tripod can make all the difference when you're photographing landscapes or other stationary subjects.
A tripod can also cause blurriness when you are photographing people or sports. How do you decide which situations are best served by a tripod.
A tripod can be useful in any situation where you need to capture fast action or stationary subjects. Examples include:
-
Sports
-
People
-
Landscapes
-
Close-ups
-
Macro shots
Do this test to see if you are unsure if you require a tripod. Keep your camera still, and then look through the viewfinder. A tripod is required if there are blurred lines, movement or other issues.
A tripod won't make any difference if there is no blurring.
These are just a few tips to help you decide whether or not to purchase a tripod.
-
You should ensure that your tripod has smooth legs. This prevents unwanted vibrations from shaking your camera.
-
Choose a sturdy tripod. Some tripods can be made out of plastic but they are not very durable. Look for a metal tripod instead.
-
You may want to consider buying a remote-control device. This remote control lets you remotely control your camera. This allows you to set the shutter to automatically fire when you press it.
-
Look for a tripod that has a 360-degree rotating head. This makes it easier for you to position your camera horizontally, or vertically.
-
Remember that tripods can be expensive. Expect to spend between $100 and $200. However, you'll get lots of value for your dollar.
-
Don't forget accessories such as memory cards or filters.
-
Check your local stores before buying online. Many retailers offer free shipping.
-
You can read customer reviews to see what people think of a product.
-
Ask friends and family members who own similar products.
-
For customer feedback, visit message boards and forums.
-
User reviews can be found online.
-
Amazon.com offers the ability to search for prices and view customer feedback.
-
Browse photo galleries to get an idea of what photographers do with their tripods.
Which Lenses Should I Use?
Most beginners will ask this question: "Which lens should I buy?" This is a difficult decision because there are so many options.
You don't have to buy a brand new lens each time you purchase a new camera. Instead, you can buy additional lenses later.
These are just three options for lenses that you might consider.
-
Wide Angle Lens (14mm-24mm): These lenses have a wide view angle that will allow you to capture more of your subject. You can also zoom in without losing image quality.
-
Normal/Standard Zoom Lens (28mm to 70mm) : These lenses allow you the flexibility of changing focal lengths, while still maintaining high quality images.
-
Telephoto Zoom Lens (70mm, 200mm): These lenses work well for distant subjects. They allow you to focus on your subject despite the fact that they may seem small in the frame.
These lenses can be combined in a variety of ways to create new effects. To capture close-up details, you can switch between a normal and telephoto lens.
Statistics
- There are people out there who will pick at flaws they can only see in 100% crops of your photos. (wikihow.com)
- The second easiest way to get blurry photos 100% of the time is to use a cheap filter on the front of your lens. (photographylife.com)
- While I cannot prove that all of those spots were not sensor dust, the photo was taken during a heavy snowstorm…so I guess that 99.8% of the spots are snowflakes. (bhphotovideo.com)
- Get 40% off Adobe Creative Cloud(opens in new tab) (creativebloq.com)
External Links
How To
How to take macro photos in photography
Macro photography is the ability to capture small objects, such as insects and flowers, at close range. Macro comes from the Greek makros (makros) which means large. It is possible to capture images of very close objects if you have a lens with a focal range greater than 50mm.
A good macro lens must have a long work distance and a fast aperture so that sharp images can be captured without having to move around. Avoid movement when taking photos, as any movement during exposure can blur your image.
Here are some great tips to create stunning macro photographs.
-
Use a tripod. You can use a tripod if you don't own one. You'll be less likely to move while you shoot.
-
Make sure you choose the right lighting. Many macro lenses have built-in light filters. If you don't already own one, get one. It prevents overexposure.
-
Be patient! Shooting macros takes practice. Sometimes, you may only be able to see a small bug or flower. But it's worth the effort to keep taking pictures until you get it.
-
RAW is the best format for shooting. RAW files store more data than standard JPEGs. RAW files are best for editing later because you can make adjustments like cropping and color correction after the fact.
-
Remember to include the background. Even though you've got a nice foreground object, sometimes the background adds interest to your shot. Make sure to include it in the photo.
-
Keep learning.